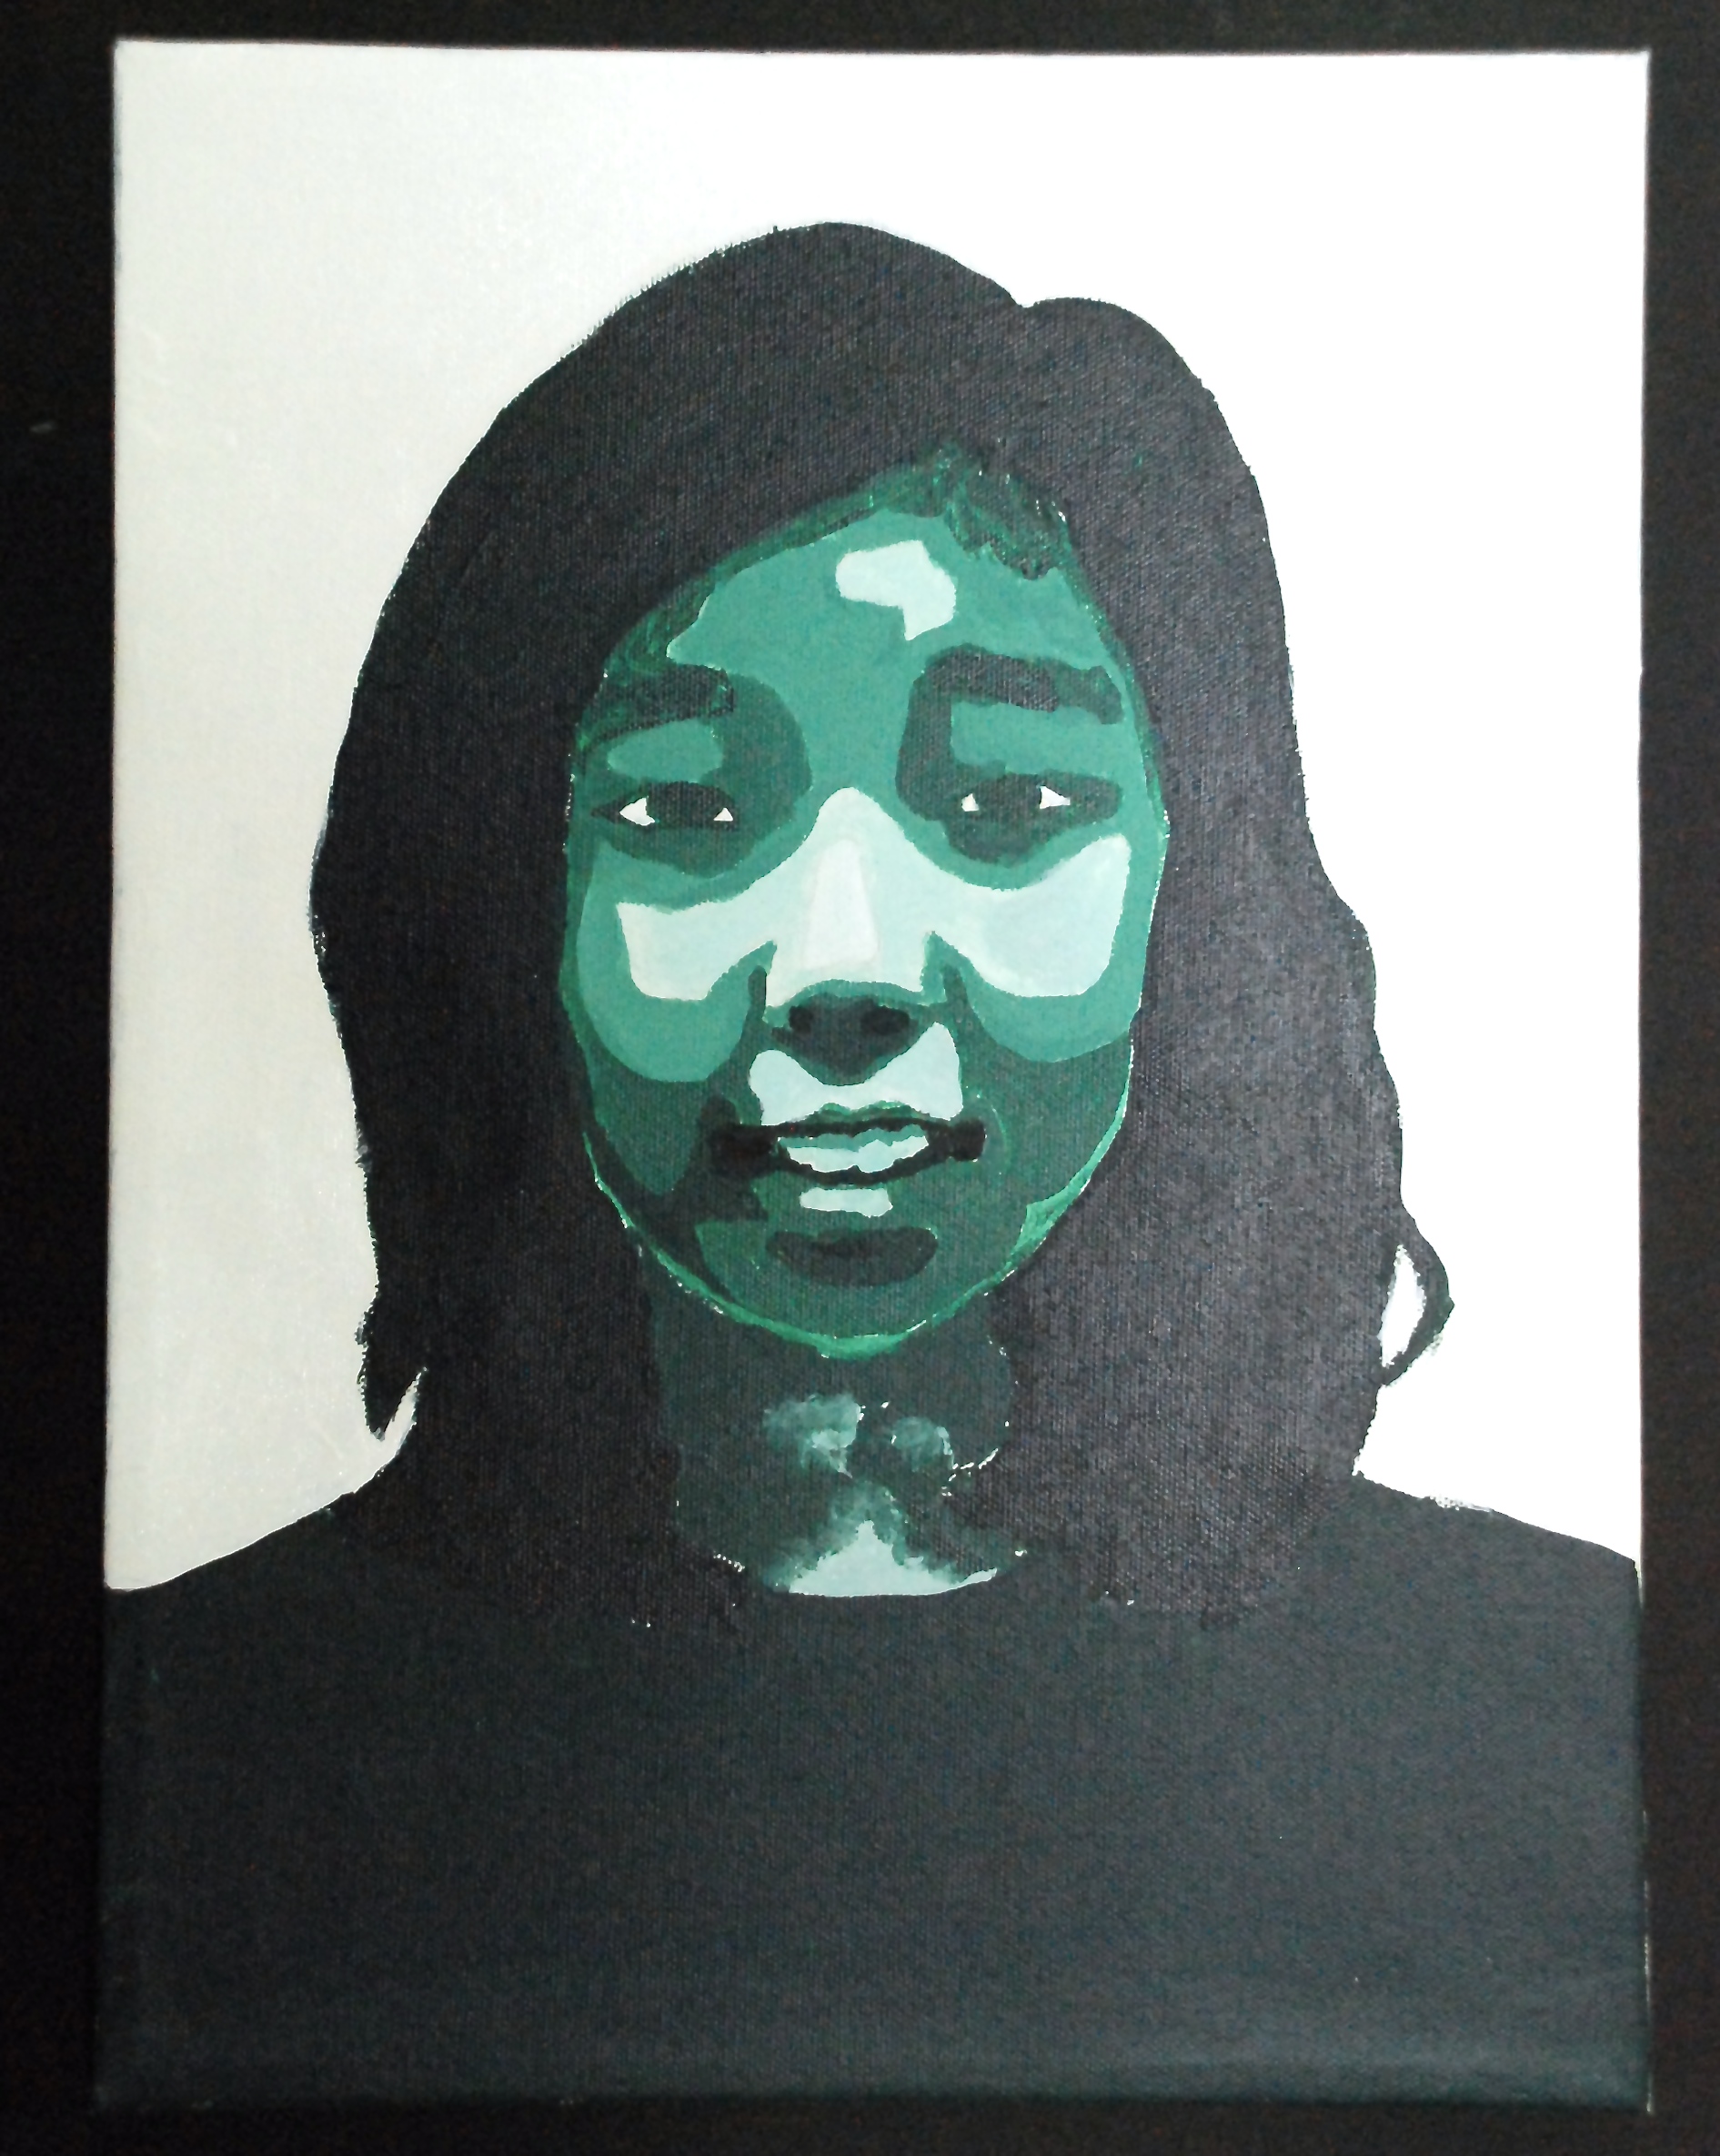
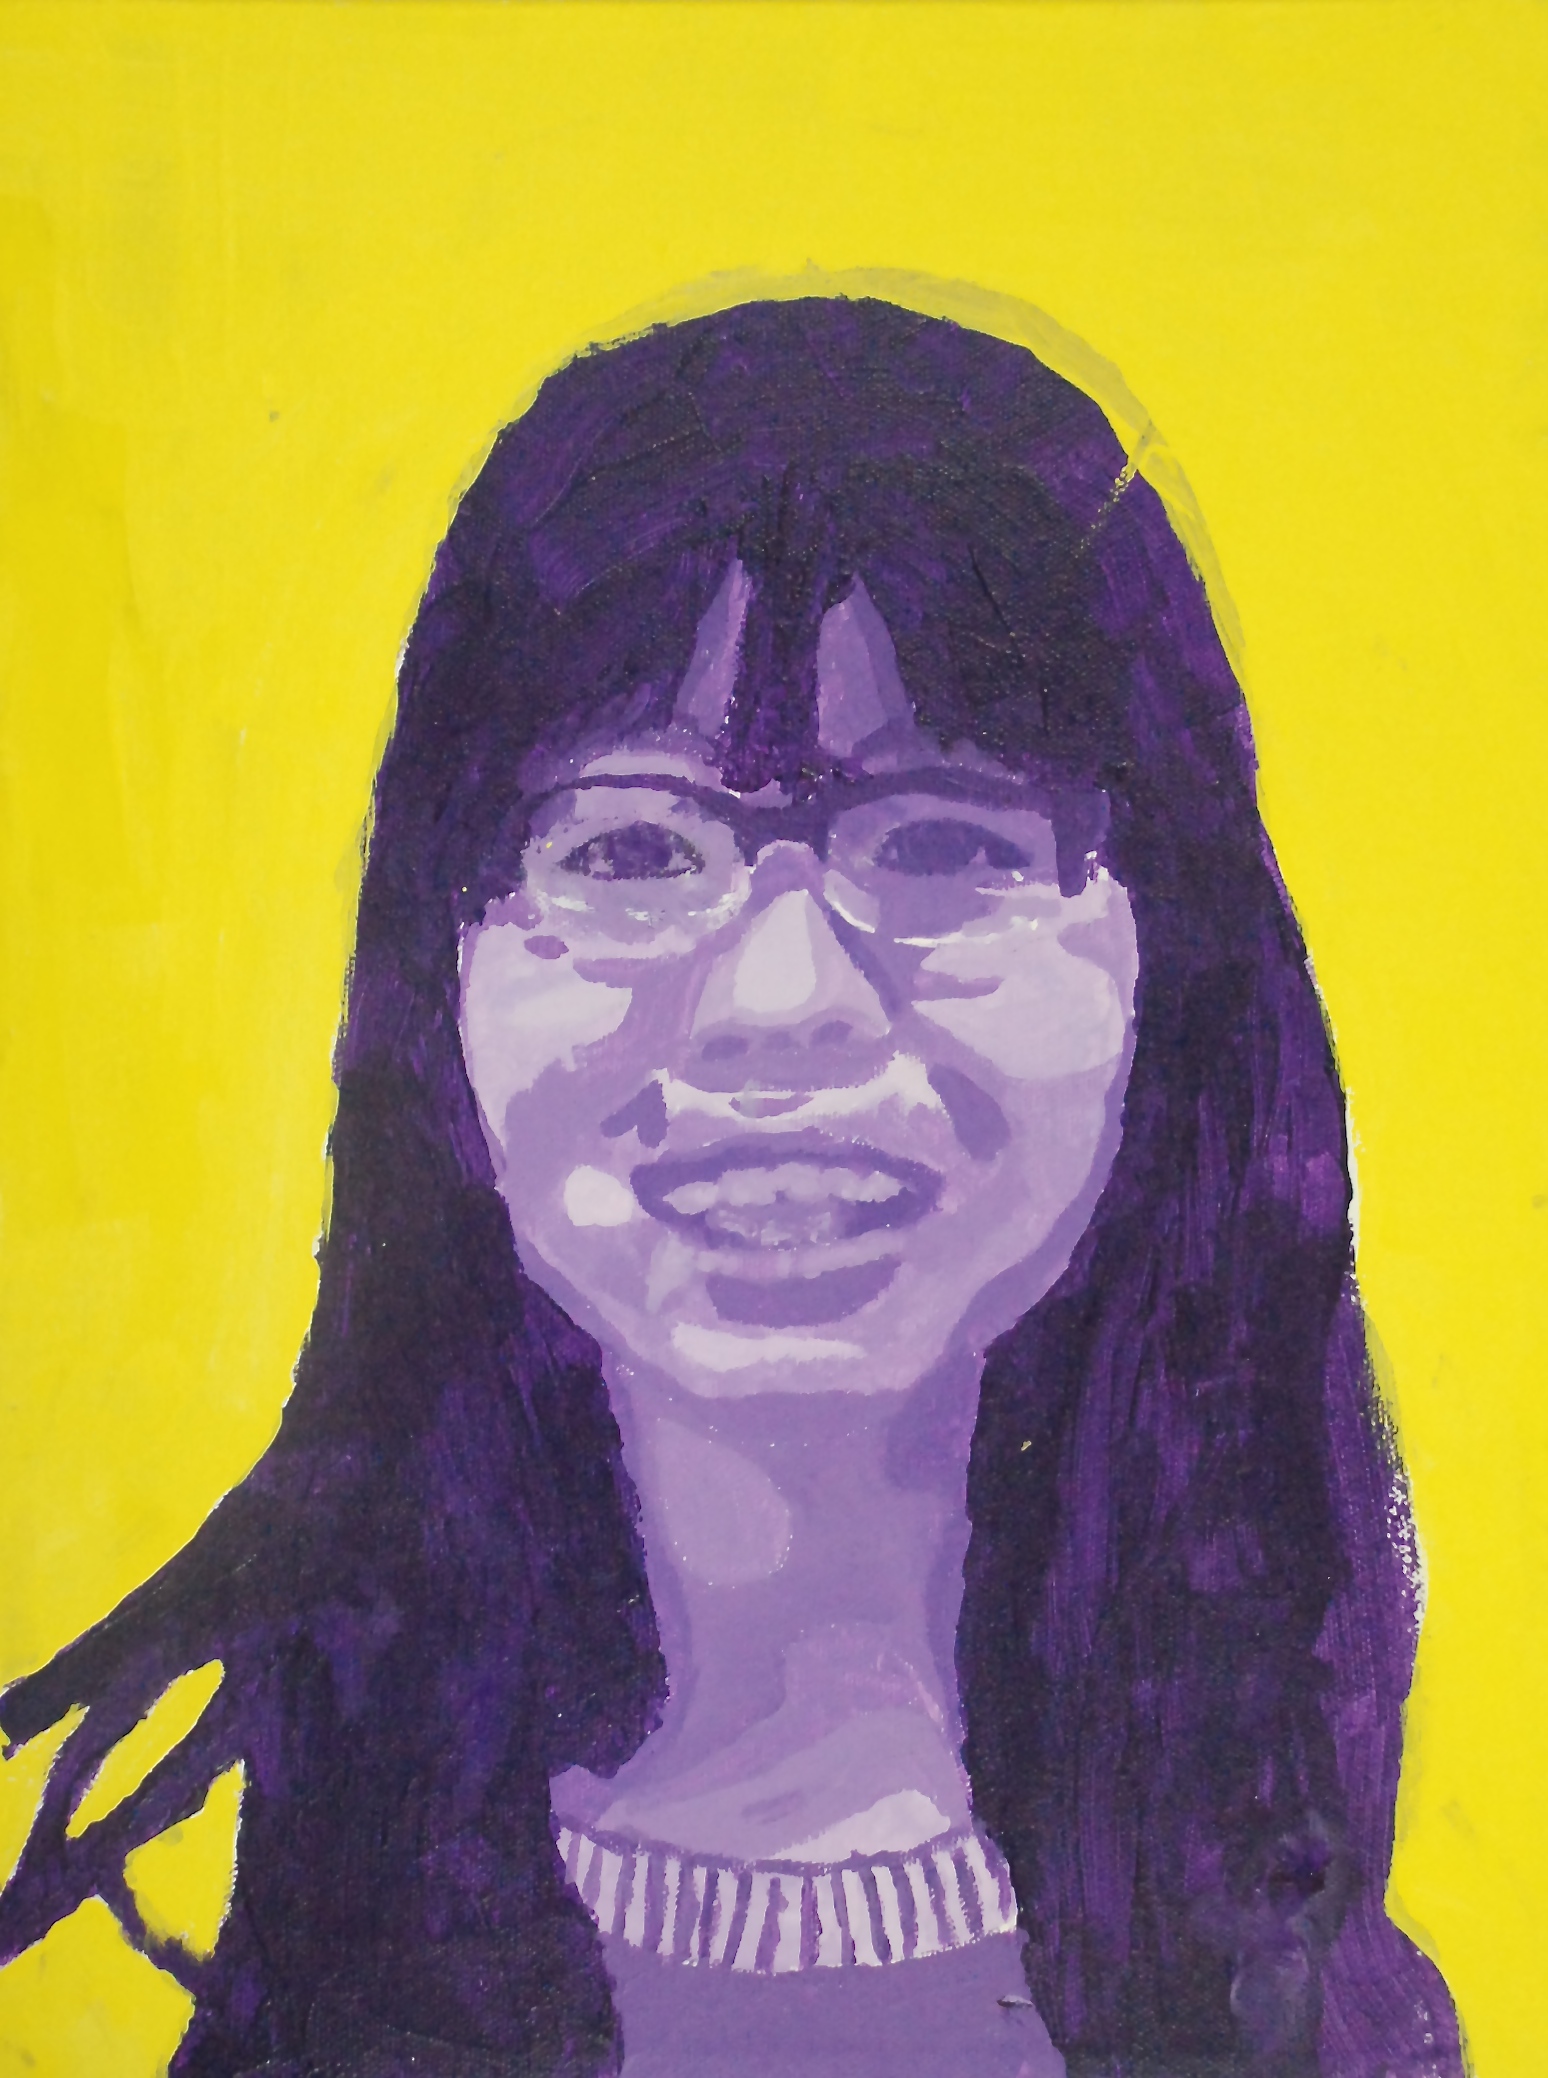
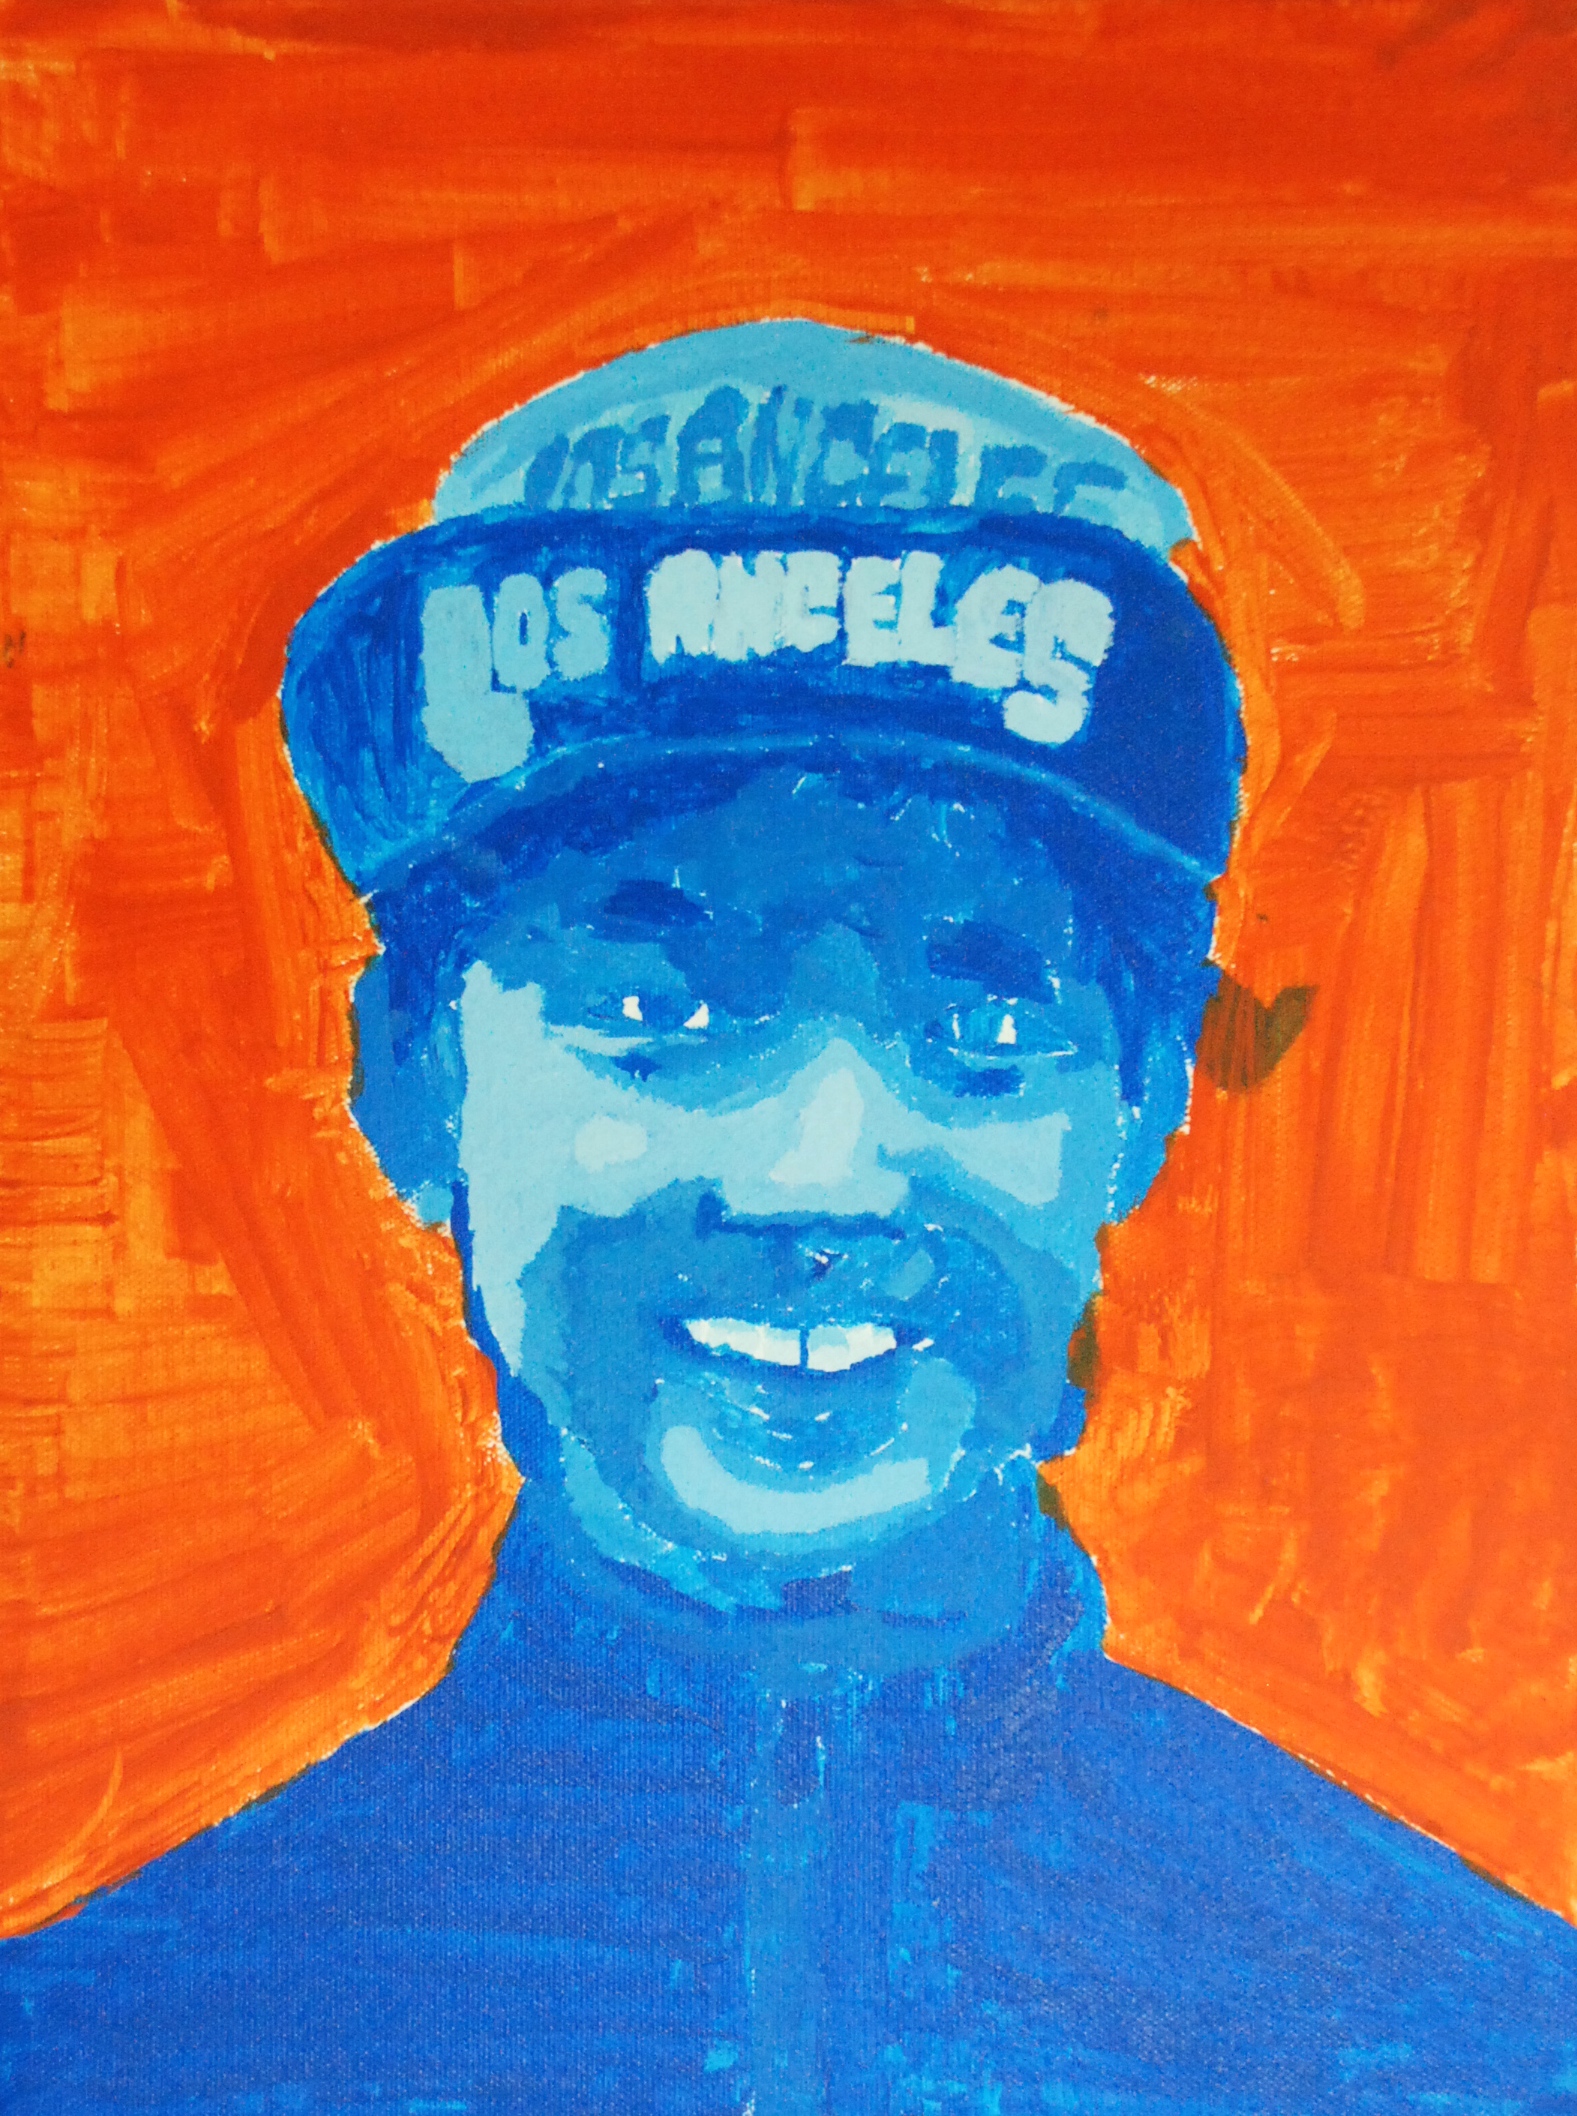
This portraiture unit is an excellent way for middle school students to demonstrate their understanding of color value. I find the students have the most success if I take a headshot photograph prior to beginning the unit and using the "posterize" feature in Adobe Photoshop to enhance the contrast between different values. Students can also choose to bring a photo from home, but making a black-and-white photocopy will make it easier for students to focus on the values without getting distracted by color.
Each student transfers their basic drawing to a canvas with pencil. With more advanced students, we use the grid technique to blow up their image. With younger students, I find that blowing their picture up and having them transfer the design with pencil works best. After getting the basic drawing outlined on their canvas, it is time for students to outline where different values will go. I emphasize to students that this is like creating a coloring book for themselves. They must use their photo to identify a range of different values and then draw the shapes those values create onto their canvas. We number the values so that painting will be the easy part! All shapes with the number one in them are the lightest value, etc.
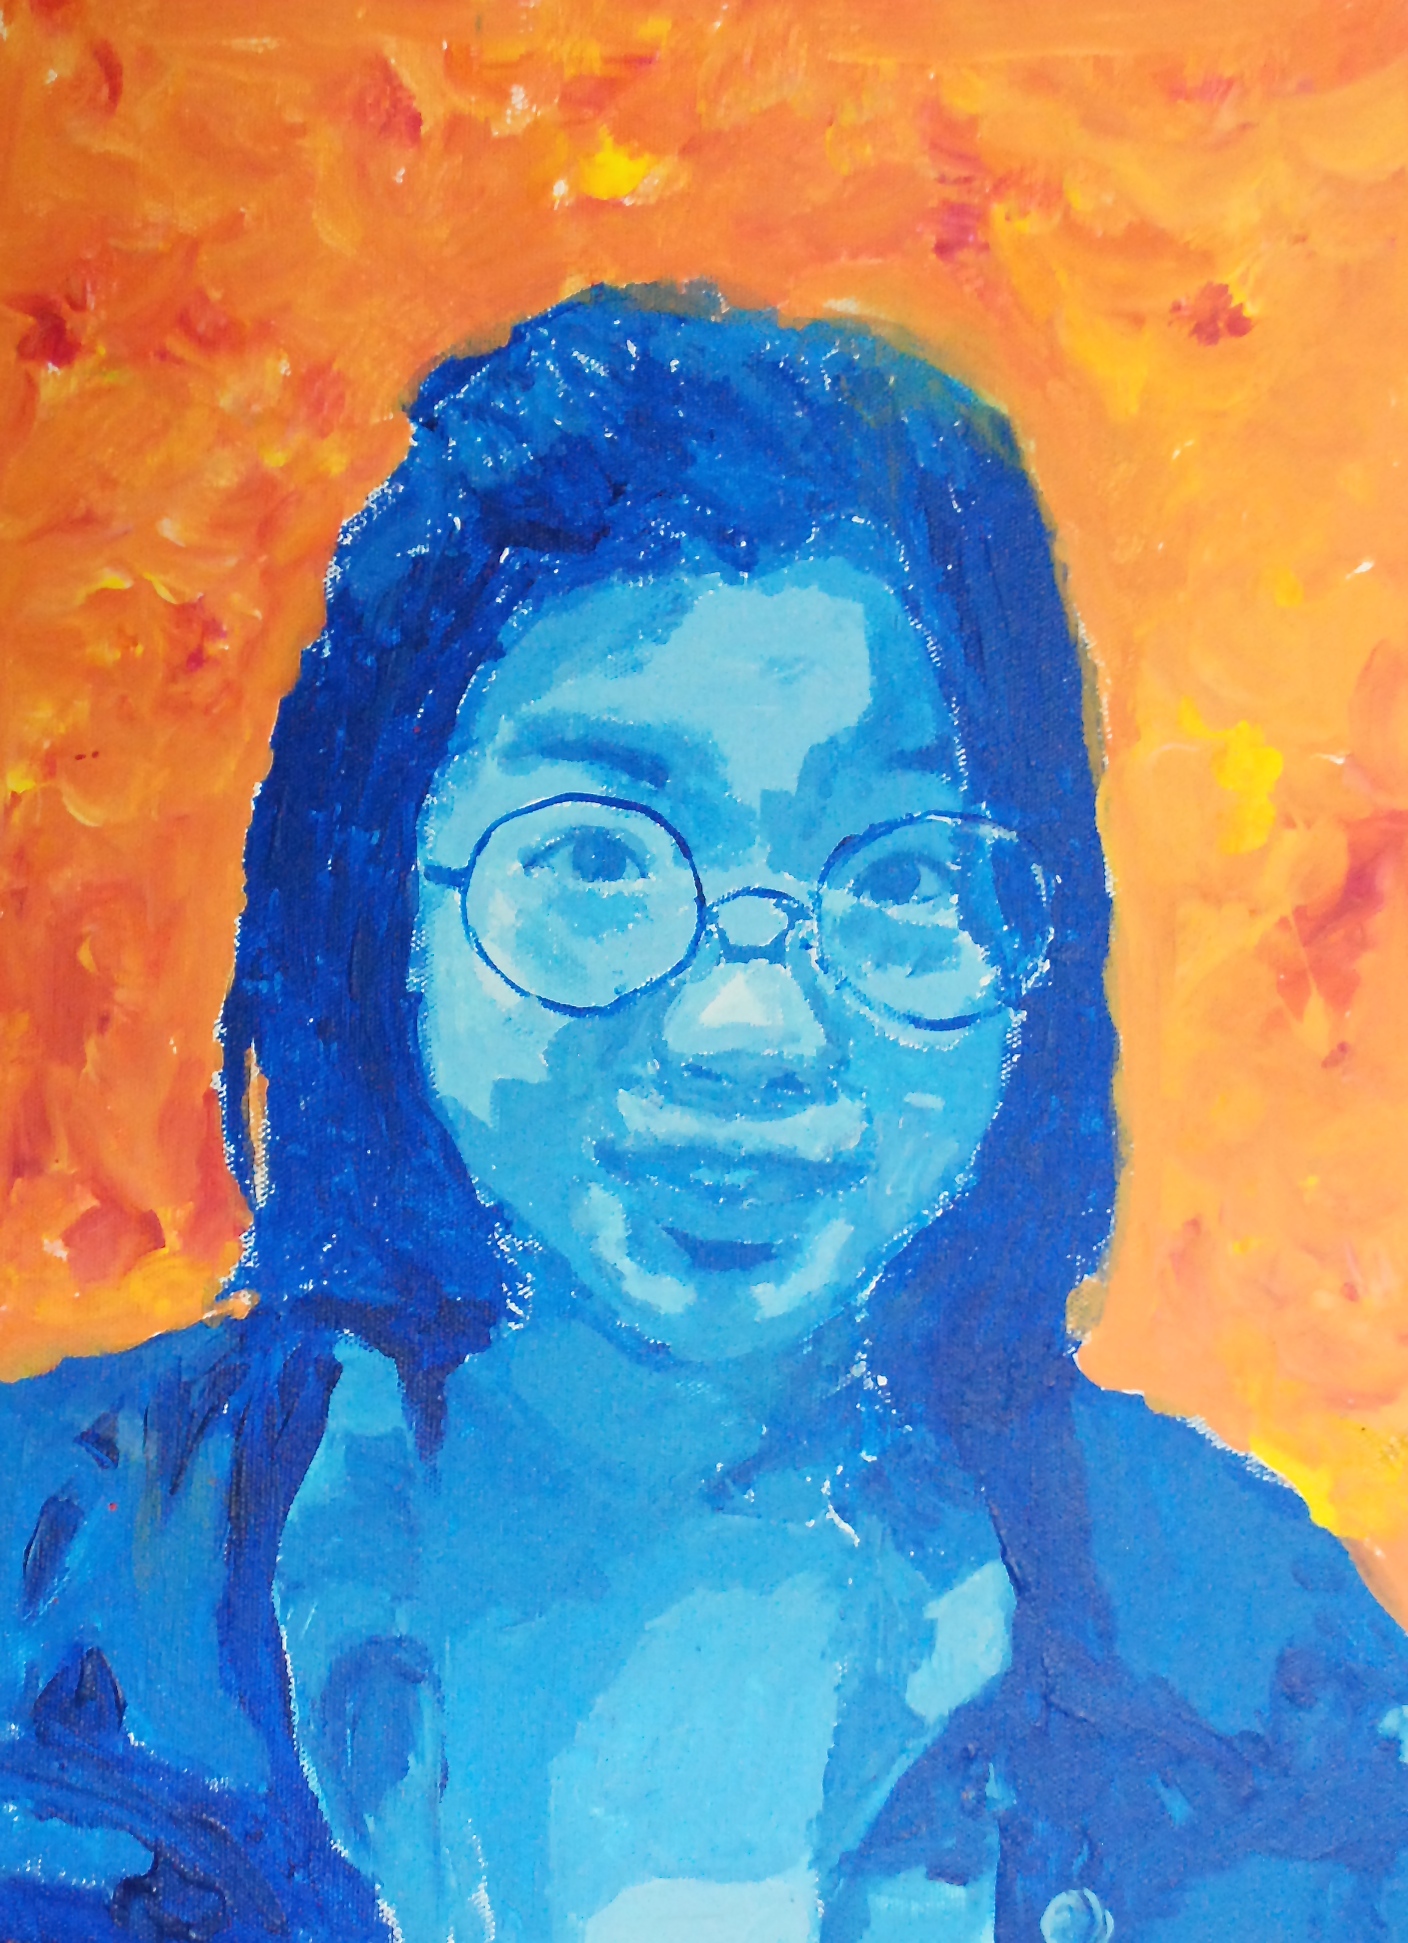
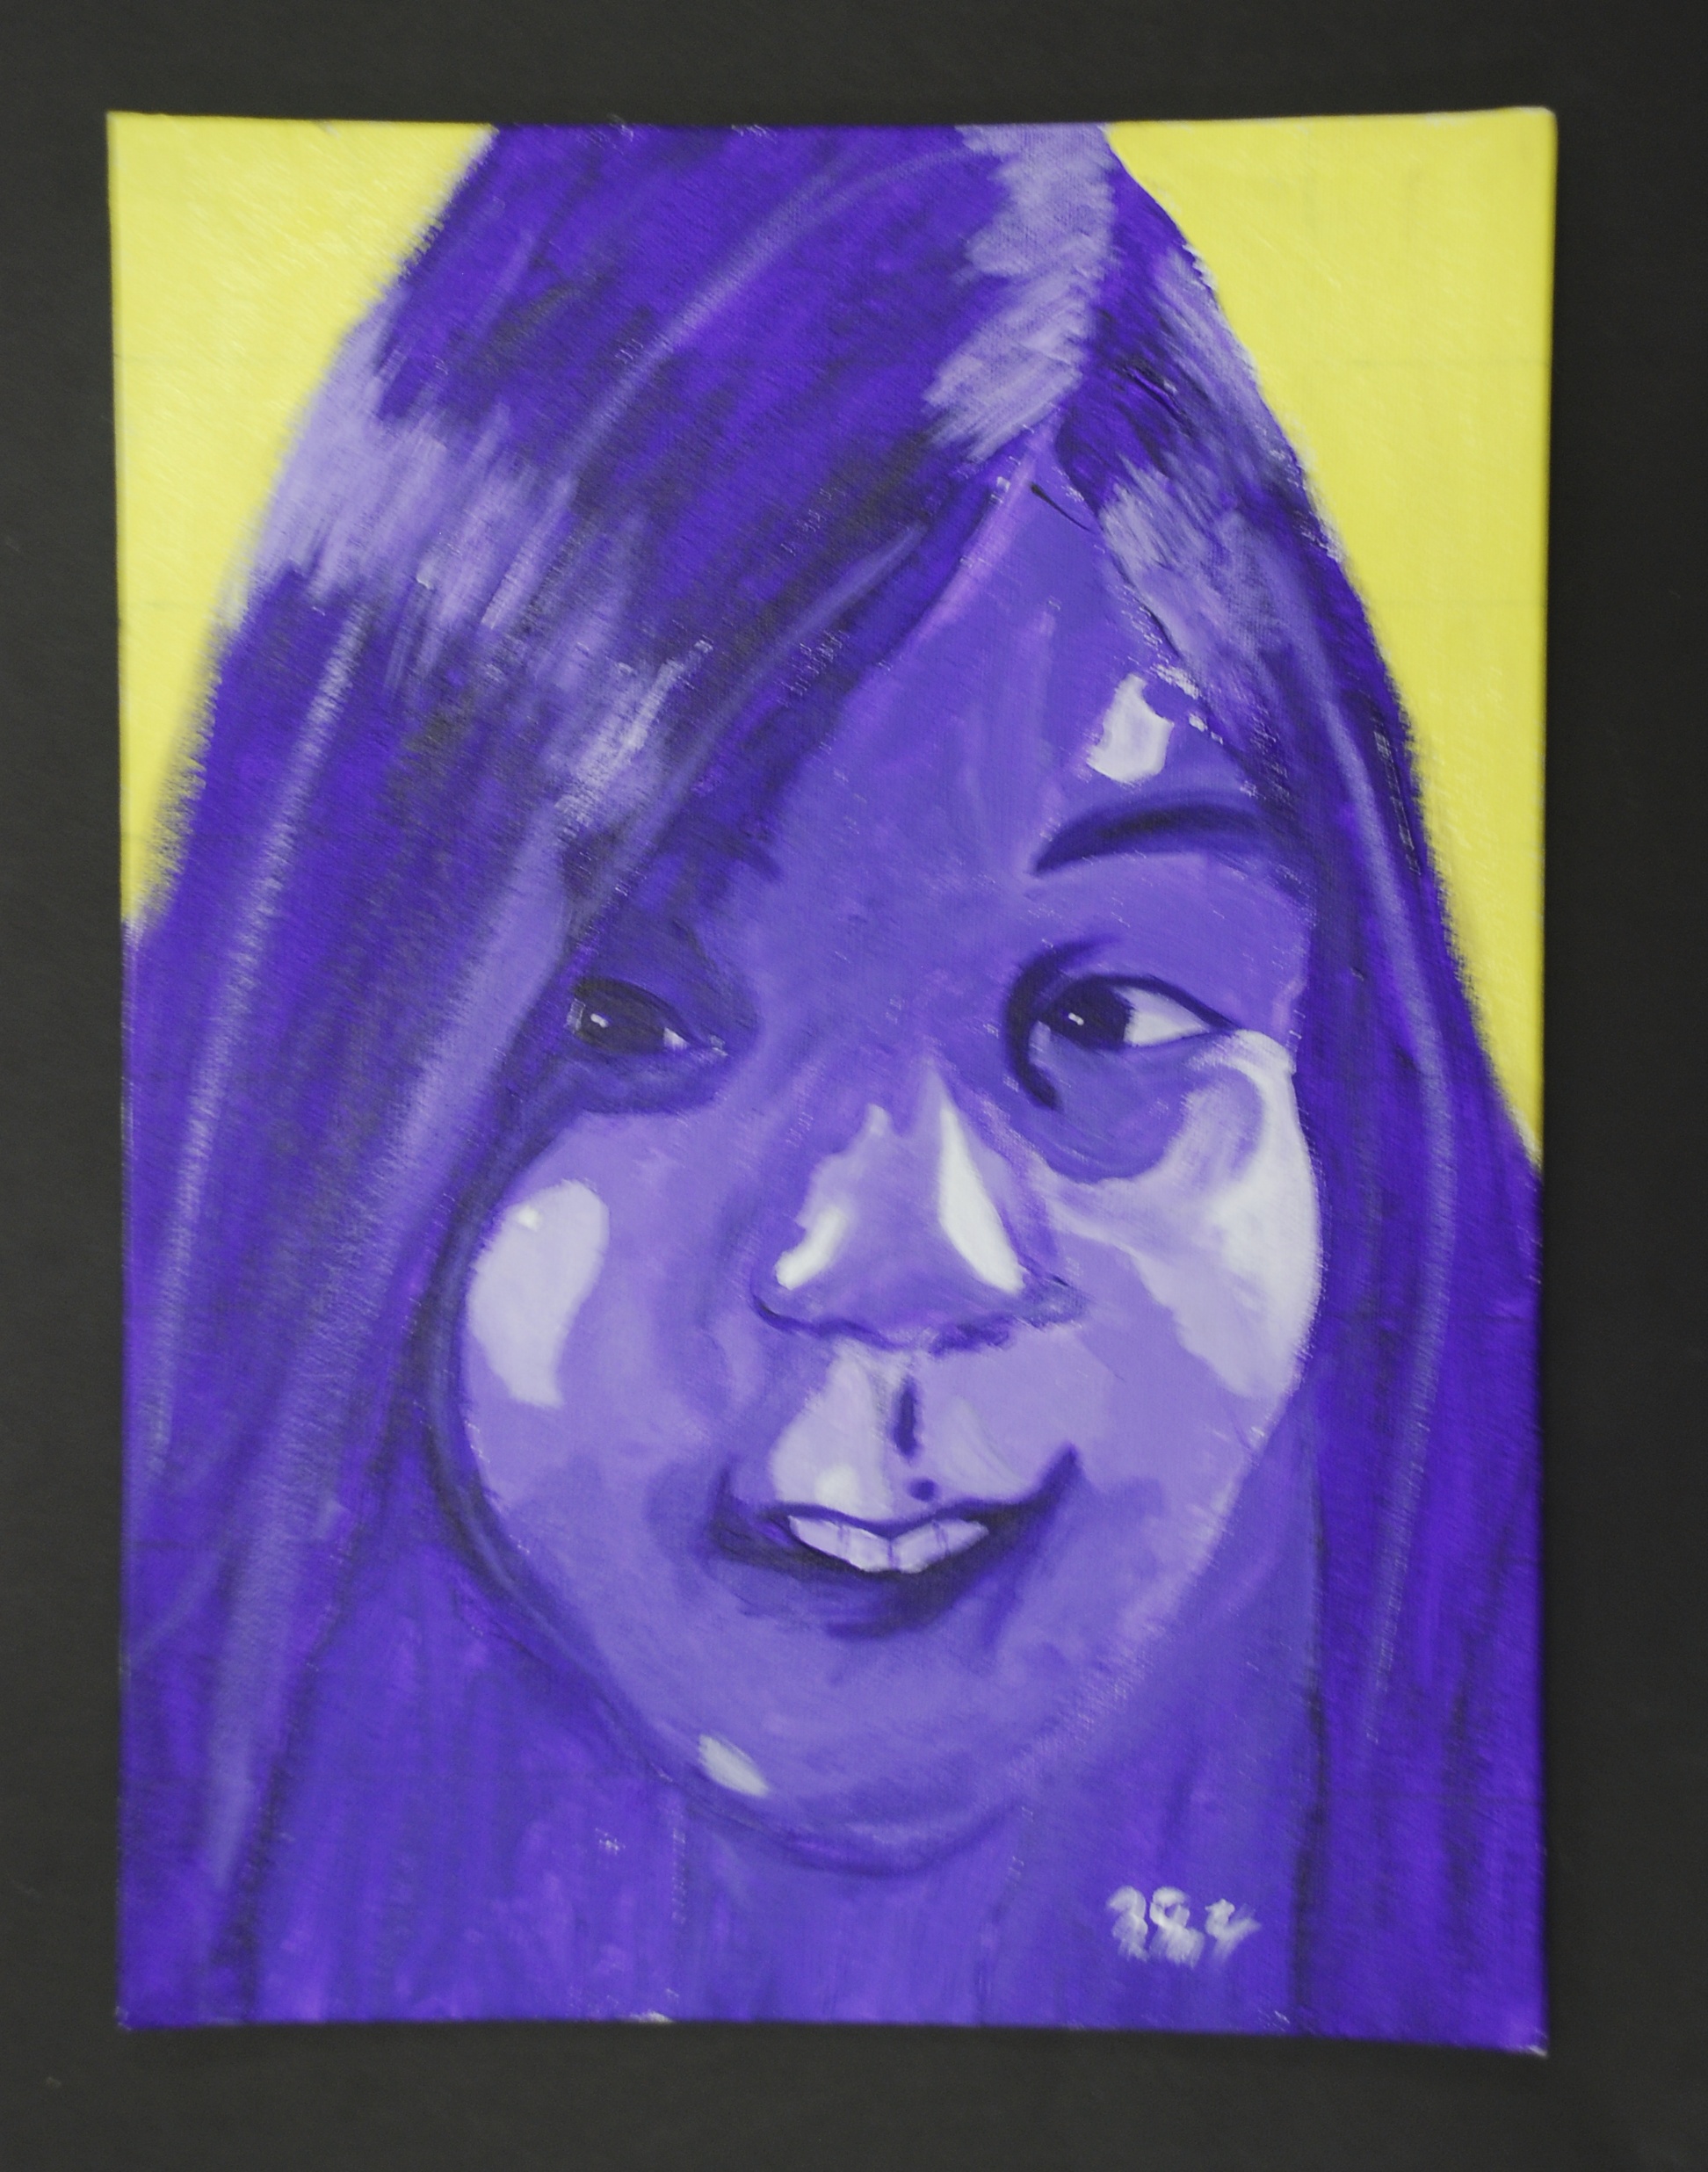
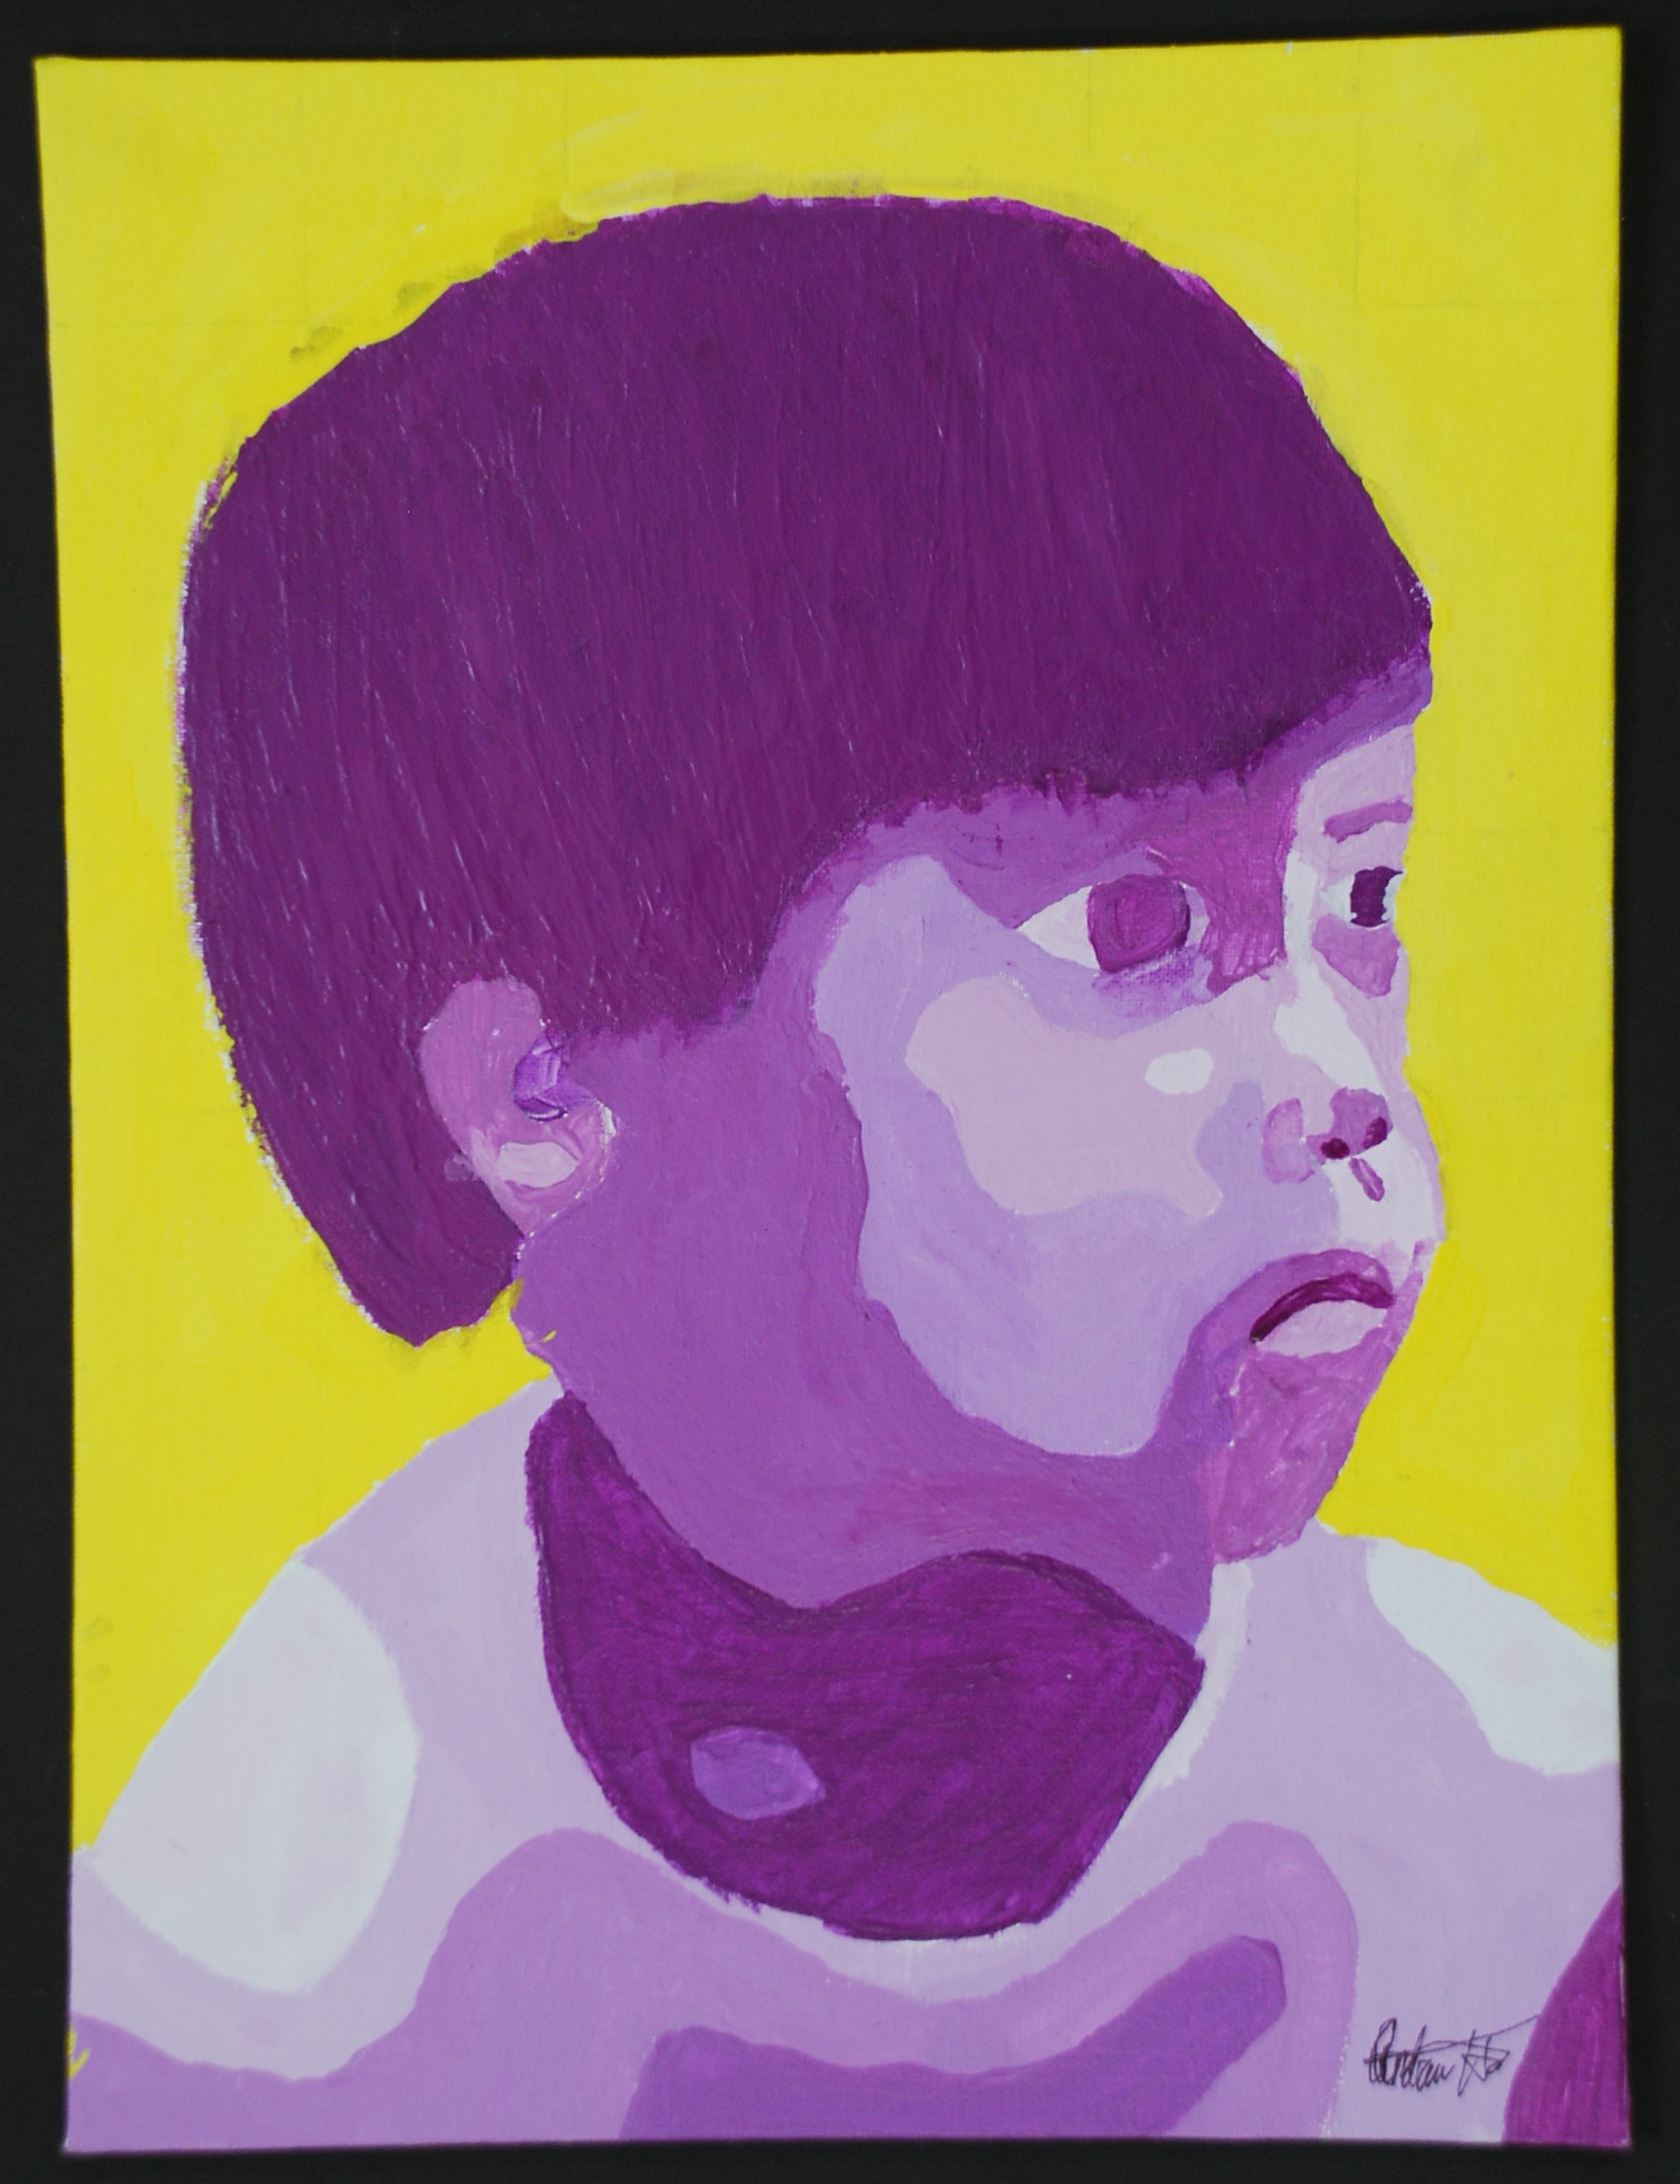
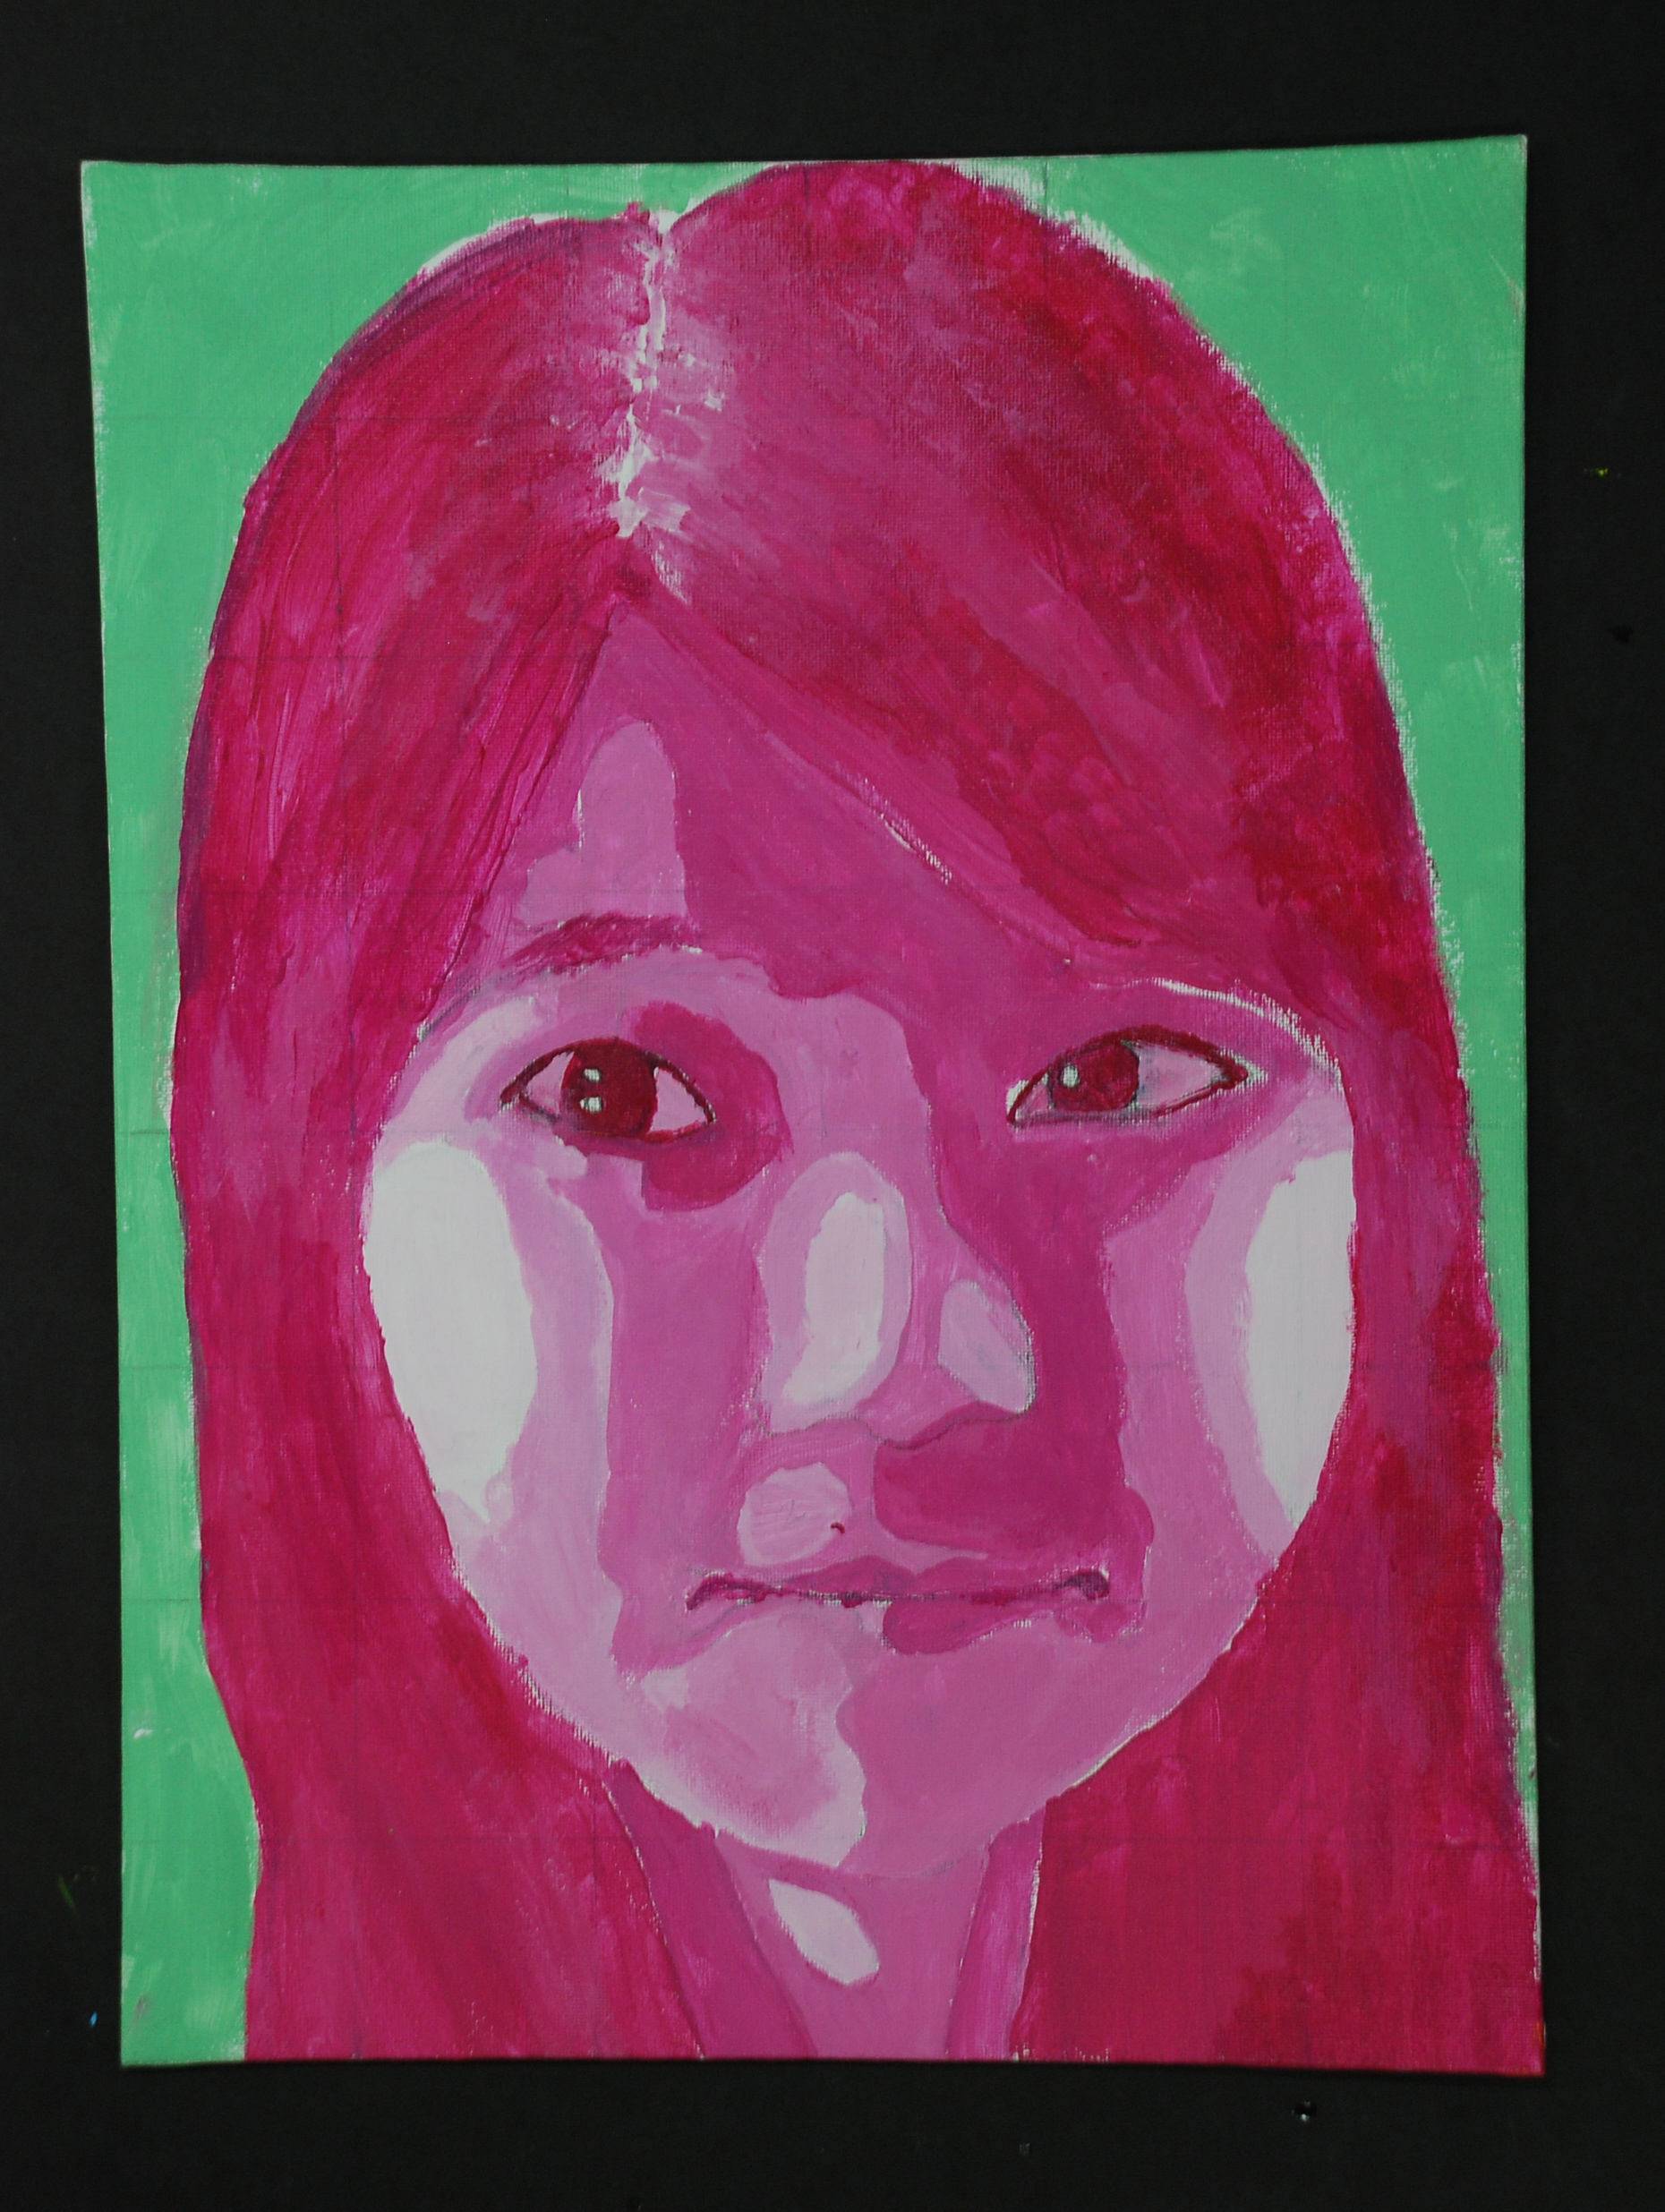
Students choose a color for their monochromatic portrait and practice creating the number of values needed for their painting by creating a value scale in their sketchbook. They transfer their knowledge to their canvas, beginning with the lightest values and working toward the darkest.
After their portrait is complete, they finish their canvas by choosing a contrasting (ideally a complementary) color for their background.
Make a free website with Yola